One of the most common questions people ask me is which bird field guide is the best. The problem is, that there is no straight answer to this, each field guide has its own pros and con. The choice can also be driven by personal preferences. However, I will try and elaborate on a few key aspects that a good field guide should possess.
- Bird Topography:
By definition, the topography is when the various parts of the bird’s exterior are mapped and described.
This section is essential in any field guide and is especially useful for beginners. The book is going to be using a lot of jargon like supercilium, coverts etc and merely defining these terms can create more confusion at times. Thus a pictorial representation of the names of the bird's parts is necessary (Fig 1).
 |
| Fig 1:Source Book: The definitive guide to Southern Africa’s Little Brown Jobs |
2. List of Bird Families:
Each bird is classified into families based on a few typical features. Unlike some taxa (plants, herps) birds are fairly easy to classify in their families based on just the external morphology. Once you are familiar with the family of the bird (that you are trying to identify) it will be easier to narrow down the species. Some guides will list down the family with their common characteristics. Books like The Ripley guide even categorize and describes birds based on groups within the family, either Subfamily, genus etc; and will describe similar features of that group as well.
 |
Fig 2: Source Birds of the Indian Subcontinent
|
3. Range Map:
This is a small map representing the subcontinent with a colour coded area showing the general distribution of birds. The colour code is usually dependent on whether the bird is a resident, winter migrant, summer migrant, passage etc. These maps should be preferably on the same or facing page from the description of the bird, to make it easier to refer to. The maps give a general idea about the distribution of the bird, and can also help to suggest if the species is possible in the area or not.
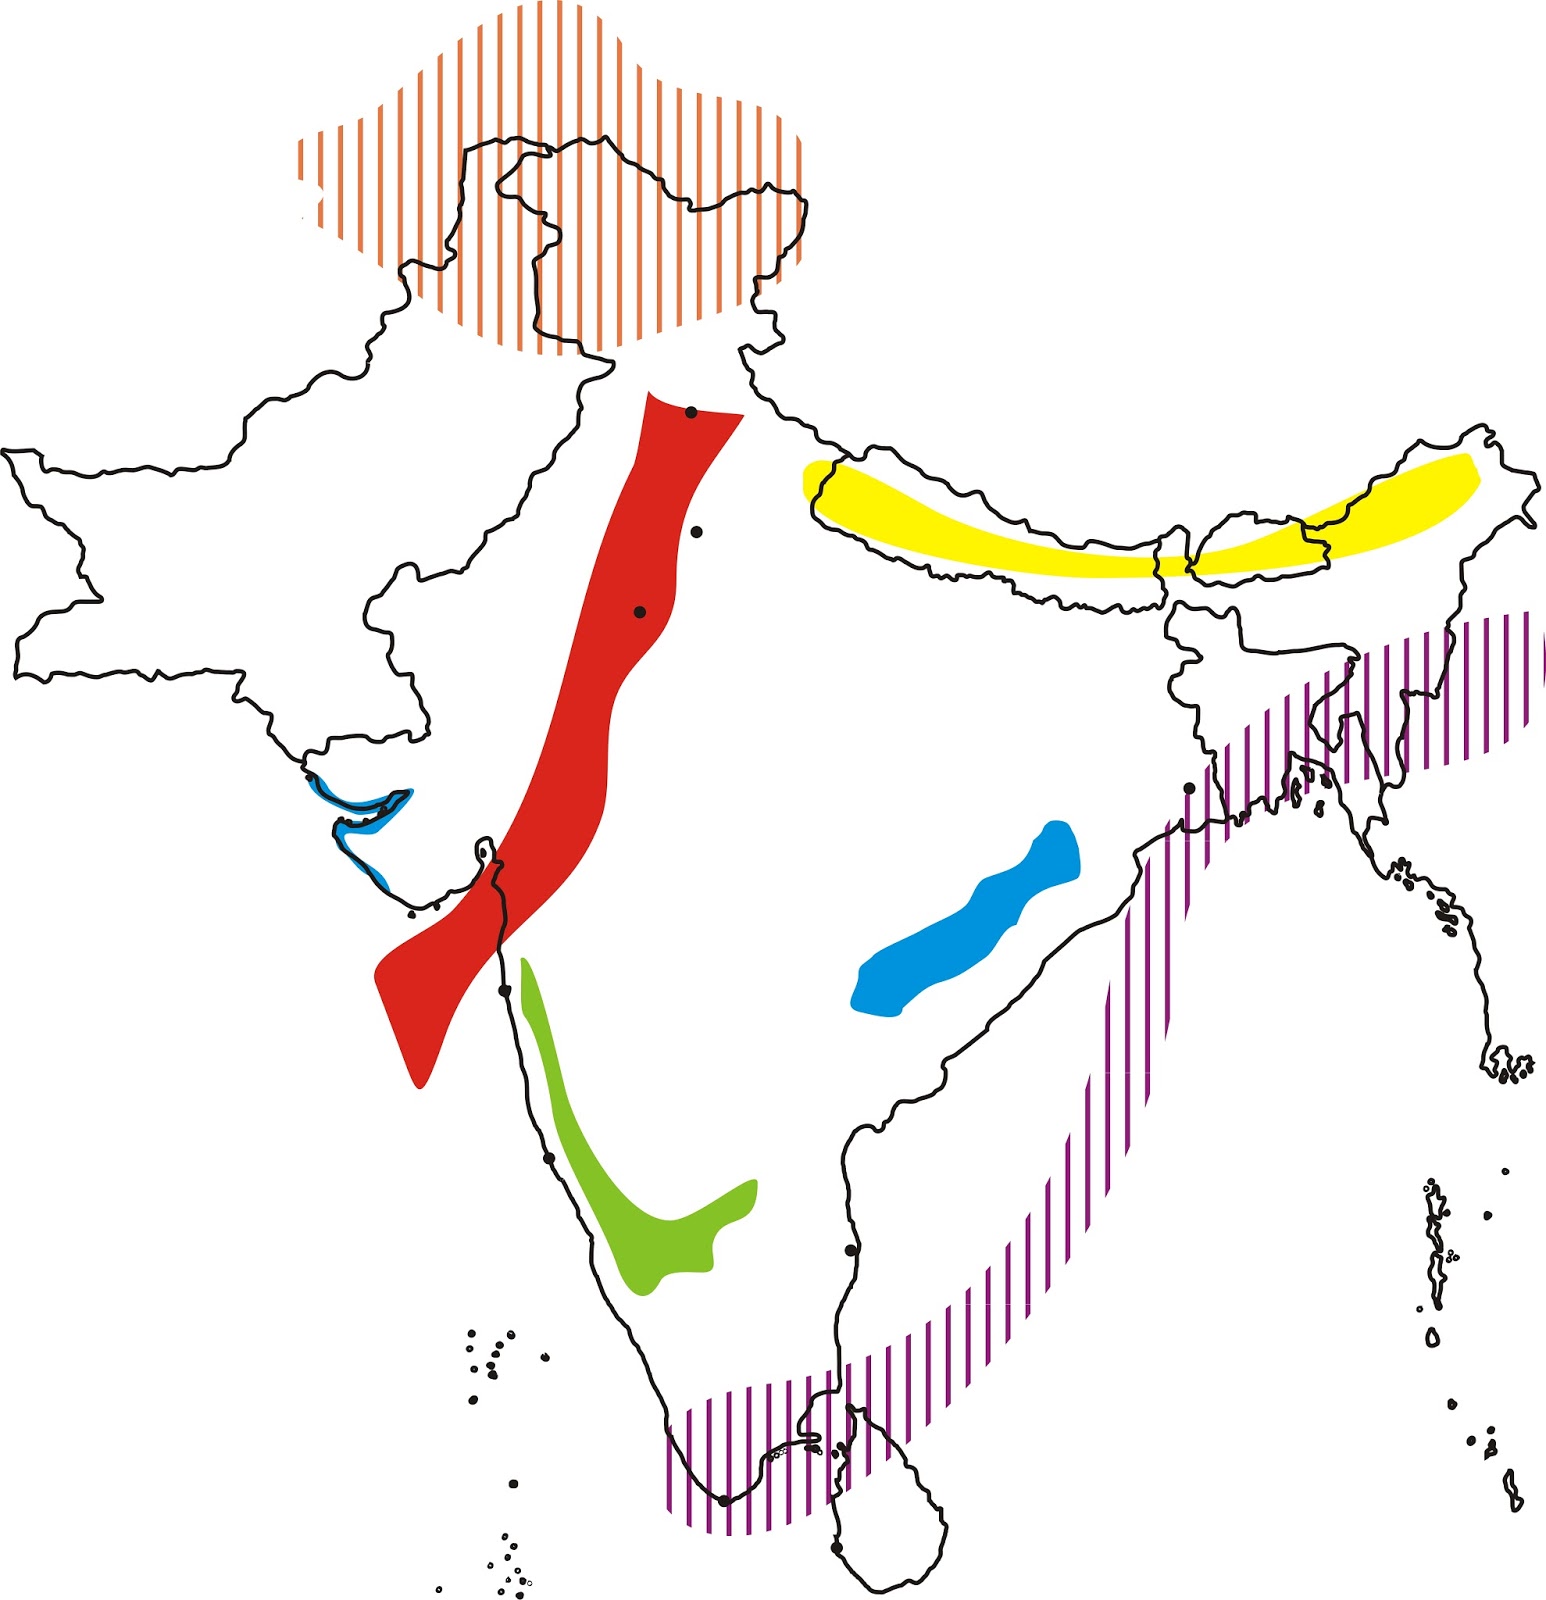 |
| Fig 3: A sample Map |
4. Birds Names:
With the common names of the birds in a tumble and changing with almost every new book, it is helpful if the book mentions alternate common names (used in other publications) or old names of the bird. Needless to say, scientific names of the bird are a must. Besides, local names of the bird in the common regional language/s are many a time useful, especially when you are birding in a remote location and trying to find a specific bird. For example the Western Tragopan a rare bird is locally known as Jujurana (meaning: King of Birds) in Himachal, or the Great Indian Bustard which is locally known as Godawan in Rajasthan and Maldhok in Maharashtra.
A list of local names of birds has been published by ENVIS (MoeF): Buceros Vol 3 Issue 4 (1998). The link to the pdf of the same is given below:
5. Description:
This is where most of the field guides lack, the description of the birds should be small and relevant to the identification of the bird, and should also concentrate on distinguishing similar species. The language should be comfortable to understand with the least amount of jargon. Another important piece of information is the size of the bird, many prefer the size to be shown in numerical like cm or inches. However, some might prefer the comparison method, like Sparrow+. Both methods have their pros and con, and the preference tends to change from when you start birding to later on.
6. Drawing/illustrations V. Pictures:
This is the possible one of the most important aspects of the field guide. Always choose a book with illustrations instead of pictures. I know this statement would raise a lot of objections in the comments but I would still recommend a book with illustrations over pictures. Pictures would be good for young birders or children, or a small book on very common (backyard) birds. But for an elaborate book that is used for identification illustrations are always better. Photographs give you one angle of the bird in one light condition, while an illustration will give a more accurate representation of the features that are useful for the identification. For example, Fig 4 shows photographs of the same bird Purple-rumped Sunbird (Leptocoma zeylonica) in different light conditions, where many of the features are lost in each photograph. In comparison, the illustration shows all the important features of the bird –Yellow breast, whitish flanks and vent, dark maroon above with metallic green, and purple throat and rump (Rasmussen)–.
A well-illustrated book coupled with a good and precise description is the best combination to be used in the field. However, these days a lot of the field guides (not only birds but also mammals) use pictures, primarily pictures being an easier way out than cumbersome illustrations. But the bottom line from my end would be to stay away from pictures.
A well-illustrated book coupled with a good and precise description is the best combination to be used in the field. However, these days a lot of the field guides (not only birds but also mammals) use pictures, primarily pictures being an easier way out than cumbersome illustrations. But the bottom line from my end would be to stay away from pictures.
 |
| Fig 4: Purple-rumped Sunbird images (by Vijay Sethi) |
 |
| Fig 4: Purple-rumped Sunbird illustration Source- HBW Alive |
7. Hard Bound or Soft Bound:
Yes, something as simple as a hard bound or a softbound book, has been deciding factor for a field guide. Personally, I prefer a softbound book. It is easier to carry weighs less and contrary to popular belief is more durable on the field. The hardbound though is more durable (on the shelf), and will easily give in to constant use and rough condition on the field.
Fig. 5 shows my Ripley guide (hardbound) which has been patched up 4 times (2 times by duct tape), maybe the reason why the new Ripley Guide is Soft Bound.
 |
| Fig. 5: My Ripley Guide patched up several times |
8. Digital Field Guides:
Though personally, I prefer a hard copy of a book, we cannot ignore the convenience of a digital field guide or an app. A few of the biggest pros of digital media is the ability to search faster through the approx 1300 species of birds, another being access to their calls, which is not possible with a hard copy of the book.
A few of the most common ebook available is “Birds of the Indian Subcontinent by Richard Grimmett, Carol Inskipp and Tim Inskipp” and Birds of Indian (Collin Field Guide) by Norman Arlott both available on Google Books. Also, apps such as Birds of India ( mydigitalearth), Indian Birds (Nature Web) and Indian Birds (Webrains Solutions) to name a few. We will talk more about digital media in a later posts, discussing online listing, checklist programmes and online bird identification sites.

Birds of the Indian Subcontinent: India, Pakistan, Sri Lanka, Nepal, Bhutan, Bangladesh and the Maldives on Google Books https://goo.gl/RA5PnY

Birds of India App: https://goo.gl/RSBXnu
9. Comparison for a few Bird Field Guides:
Given below are a few popular field guides for the Subcontinent, I have listed a few pros and cons as well, though it is not an elaborate review.
1. Birds of South Asia: The Ripley Guide (Pamela C. Rasmussen)
Pros:
Cons:
Pros:
- Being a set of two books The Ripley Guide has the liberty to keep the description in the Field Guide to a minimum and to the point. While the Reference guide contains more elaborate details like habit and taxonomy.
- Possibly the most updated book and a lot of splits suggested by the book have been accepted.
- Illustrations are good (however a few are a bit off)
- Maps are fairly accurate and consist of small notes for the habitat of the birds and mention if the bird is endemic.
- The birds are divided into smaller groups and a brief write-up for each group is very helpful to narrow down difficult species
Cons:
- Price, the book is expensive costing around Rs. 4,000/- (the price online may vary a lot).
Available at Amazon
2. Book of Indian Birds (Dr Salim Ali)
The book that started it all! first published in 1941 it is still the highest-selling publication at BNHS.
Pros:
- The description of the ecology and habitat of the birds is good.
- The language is easy to understand especially for beginners
- Local names of the birds are mentioned
Cons:
- Ironically the biggest con for the book is its age, only reprinted in 1941 the book did not have all the birds of the subcontinent even back then, and with so many splits and new taxonomy and names, the book makes it difficult for the person to keep up.
However, it is highly recommended to have a copy of this book even if you have any other new of new publications.
Available at Amazon
3. Birds of the Indian Subcontinent: A Field Guide (Bombay Natural History Society)
Pros:
- Write up is crisp and to the point.
- The alternate/old names of the birds have been mentioned
- Cost, possible the lowest cost book on the list
- Family description at the beginning
Cons:
- The current version does not have distribution maps
- the write-up and the illustration for some of the birds are not on facing pages
- Illustrations for some groups are a bit off.
Available at BNHS
4. Birds of the Indian Subcontinent (Carol Inskipp Richard Grimmett & Tim Inskipp)
Pros:
- The new version has a better write up
- Illustrations are good and accurate (however a few are a bit off)
Cons:
- Size, the book is too large to be a field guide
Available at Flipkart
6. Birds of the Indian Subcontinent (Krys Kazmierczak)
Pros:
- Small and precise description especially for warblers.
- Indicators of dark and light morph, endangered species etc are helpful.
- The maps are accurate and show much more details like single records of the birds.
Cons:
- Maps are on different pages making it difficult to refer
5. Birds of India (Collins Field Guide)
Though I own a copy I have not yet used the book to suggest its pros and cons.
There is a lot to birding than just illustrations and descriptions given in a book, a major part being their behaviour, thus being out in the field can never be replaced and the books and apps are just tools to help you.
Happy Birding!
References:
BirdLife International (2017) IUCN Red List for birds. Downloaded from http://www.birdlife.org on 06/11/2017
del Hoyo, J., Elliott, A., Sargatal, J., Christie, D.A. & de Juana, E. (eds.) (ENTER CURRENT YEAR). Handbook of the Birds of the World Alive. Lynx Edicions, Barcelona. (retrieved from http://www.hbw.com/ on [6/11/2017])
Image Source:
** Images in this blog have been obtained from multiple sources (a few mentioned below) from the internet for non-commercial and educational use and may be subject to copyright.
orientalbirdimages.org
Birds of the Indian Subcontinent
HBW Alive http://www.hbw.com/
Google Images
Google Play Store


